
Guides
Paper marbling: four preparations that must line up before anything else
Four preparations have to be right at once: paper, mordant, color and bath. The full marbling sequence, and how to work out which one failed.
What to take away
- Four preparations have to be right at the same timepaper, mordant, color and bath.
- Mordant is alum in warm water, typically 1 to 4 tablespoons per quart, sponged on evenly and dried flat.
- The bath is carrageenan or methylcellulose, hydrated 8 to 12 hours, poured 1 to 2 inches deep and skimmed before every sheet.
- Color floats when it carries enough dispersant. Test one drop on the bath before you commit a sheet.
- A failed print points at one preparation, not the whole process.
The four preparations, named
Marbling is not one skill. It is four preparations that must be correct at once, and each one fails in a way you can see. Work in a fixed order: paper, mordant, color, then bath. Test each stage on a scrap before you commit a good sheet.
Paper: the sheet decides how much mordant it holds
Choose a smooth, absorbent sheet in the 90 to 140 gsm range, roughly 60 to 95 lb text. Lighter stock cockles and tears on the rinse. Wikipedia's paper weight entry explains how gsm and the lb scales convert, which matters when a supplier lists one figure only.
Modern paper is internally sized with rosin and aluminum sulfate, a shift that began in the early 1800s. The Hubbe and Bowden review of hand papermaking documents the move away from starch and gelatin surface sizing, and the loss of fold strength that came with alum.
[figure 2]
That is why a sample pack beats a brand commitment. Two sheets of the same weight can take mordant very differently, so buy small and print a test strip from each.
Mordant: alum, water and an even coat
Dissolve alum in warm water. Typical home ratios run from 1 to 4 tablespoons per quart, about a liter. Stronger is not better, since an even dry coat matters more than concentration.
Sponge it on in one pass, working from the center outward. Do not let puddles sit or handle the sheet while wet. Dry flat on a rack or a line.
Any patch you miss will lift during the rinse. Hold the dry sheet against a raking light and look for dull spots. A correct coat dries with a faint, even sheen.
Color: paint, water and dispersant
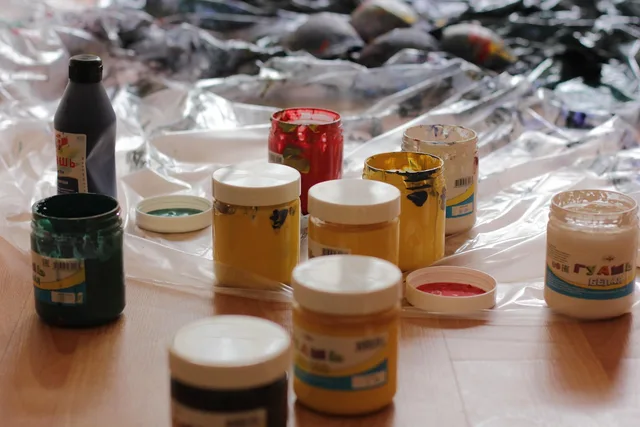
Thin acrylic or gouache with water to the consistency of light cream. Add dispersant, usually ox gall, a few drops at a time per small cup. Brands differ, so treat the count as a starting range.
Test color on the size, not on paper. A drop should open into a ring a couple of centimeters wide within a second or two. A bead that sits and then sinks needs more dispersant. A wide film that merges with its neighbors has too much.
Keep mixed color in labeled dropper bottles. Judge the spend per kept sheet rather than per session, because wasted color is the cost that quietly grows.
The bath: size, hydration and depth
Carrageenan and methylcellulose both work. Supplier ratios differ, and published carrageenan recipes often land near 1 to 2 ounces per gallon of water, blended and left to hydrate for 8 to 12 hours. Mix it the night before.
Pour 1 to 2 inches into a level tray. Skim the surface with a strip of newspaper before every print, since the skin that forms carries dust and pigment. Room temperature is right.
Because marbling needs a level tray, a drain and drying space, it is often taught in a studio first. Columbia College Chicago's book, paper and printmaking studios show the scale that requires. A spare table, a plastic tray and a line cover the same ground at home.
Diagnosis: which preparation failed
Print a test strip whenever anything changes, and read the symptom before you change a recipe. Rule out the paper first with what careful buyers test on a sheet, because a badly sized sheet imitates a weak mordant.
[figure 1]
| Symptom on the sheet | Preparation to check | First adjustment |
|---|---|---|
| Color sits as beads, then sinks | Color | Add dispersant one drop at a time |
| Colors spread wide and merge | Color or bath | Cut dispersant, thicken the size |
| Pattern lifts off during the rinse | Mordant | Re-alum and find the missed patches |
| Pale, patchy transfer | Mordant or paper | Stronger alum, smoother sheet |
| Rings, cracks and dry patches | Bath | Skim the surface, thin with water |
| Sheet cockles and grabs | Paper | Move up in weight, dry flatter |
If paper, mordant, color and bath all check out, the fault is in hand pressure or the speed of the lift.
The sequence, start to finish
Run the sequence in the same order every time, so a failure points at one preparation instead of four.
- Mix the size the night before and leave it to hydrate.
- Dissolve the alum, coat the sheets evenly and dry them flat.
- Skim the bath and level the tray.
- Thin the colors, add dispersant and test one drop on the size.
- Lay color, then draw a rake, comb or stylus through it.
- Lower the sheet from one corner, press lightly and lift.
- Rinse the surplus size off in clean water, then hang or blot.
- Dry fully, then flatten under weight.
Steps 2 and 4 take the most time and cause the most failures. Practice one pattern until the rake draws evenly. The combed families in where decorative paper patterns come from teach that rhythm before you attempt anything complex.
Common questions
Why did my colors sink?
Do I have to use alum?
How long does the size keep?
Can I marble both sides?
In this guide
- Paper marbling classes: questions to ask and notes to keepQuestions to ask before booking a paper marbling class: the four causes of a gray sheet, who mixes the size and alum, which style to learn first.
- What actually solves glare when you photograph paper marbling patterns?How to photograph: glare and fine detail are the two problems. Light angle, bit depth, file format, and why the detail frame is the one people actually respond.
- Trays compared first: paper marbling equipment, sorted category by categoryPaper marbling equipment compared by category, starting with trays: what each item must do, which plastics survive size and pigment, and what to make yourself.
- Paper marbling learning plan: a weekend scheduleA paper marbling learning plan for one weekend: prepare alum and size Friday, practice Saturday, then rinse, dry and flatten sheets Sunday.
- Marbling supplies split into three separate storage problems, not oneHow to store materials used for paper marbling: dry goods, wet chemistry and finished sheets each want different conditions. Alumed paper does not keep.