Guides
Part of Paper marbling: four preparations that must line up before anything else
What actually solves glare when you photograph paper marbling patterns?
How to photograph: glare and fine detail are the two problems. Light angle, bit depth, file format, and why the detail frame is the one people actually respond.
What to take away
- Marbled sheets are flat, glossy and full of fine detail, which is the hardest combination to photograph well.
- Shoot in raw, or in the largest quality setting your camera offers, because the fine comb lines are the first thing compression destroys.
- Kill reflections by controlling the angle of the light, not by moving the sheet.
- Photograph a full sheet and a detail. One of them is always the useful image.
The two problems: glare and fine detail
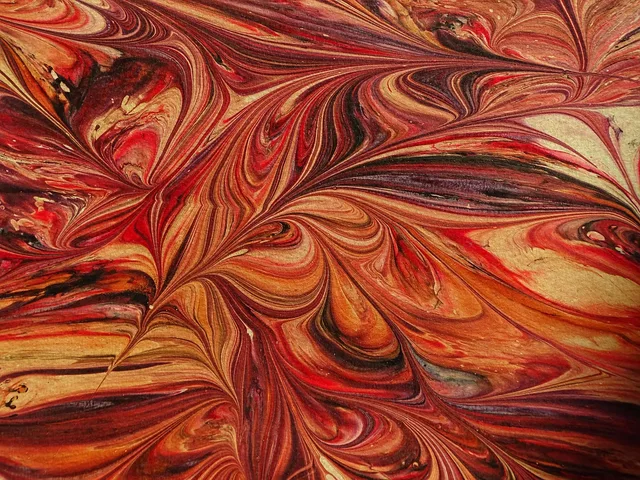
A marbled sheet is closer to a photographic print than to a painting. It sits flat, it often has a slight sheen from the size and the pigment, and the pattern carries detail at a scale of a millimeter or less. Both properties fight the camera.
Glare comes from light bouncing off the sheet straight into the lens. The fix is angle. Put the light source at roughly forty-five degrees to the sheet and shoot straight down, or shoot at a slight angle with the light square on. Moving the sheet does nothing; moving the light does everything.
Capture at the highest bit depth you can
Marbled color sits in narrow tonal ranges, and gradients band badly when there is not enough data. Park Service guidance on understanding bit depth explains what the setting controls and why more of it protects an image through editing.
The practical rule is to capture more than you need. You can always throw data away when you export, and you cannot get it back if the file never held it in the first place.
Choose the file format on purpose
The second half of the problem is what you save. Park Service guidance on understanding digital image formats compares the three that matter: camera raw or another proprietary capture format, TIFF, and JPEG, and sets out what each is suited to.
For marbling, the answer follows from the detail. Capture raw, keep an archival TIFF, and export JPEG copies for sharing. A JPEG saved repeatedly turns fine comb lines into mush.
A setup that works on a table
- Sheet flat on a mid-gray surface, weighted at the corners out of frame.
- One window or one soft light, at about forty-five degrees.
- White card on the opposite side to lift the shadows.
- Camera square to the sheet, on a tripod or braced.
- One frame of the whole sheet, then one frame of a hand-sized detail.
The detail frame is the one people respond to, because a full sheet at screen size loses exactly the information that took you a weekend to control.
Presenting a set
Keep the background, the light angle and the crop identical across every sheet. So a set reads as a series, and differences in pattern show as differences rather than as noise. Note the size and the date beside each image.
The process behind the sheets is set out in paper marbling explained; the same lighting logic applied to bound work is in photographing handmade journals.