Guides
Part of 4 points on handmade journal ideas that matter
Why do handmade journals photograph best open, moving and lit from a window?
How to photograph and: shoot the book open and moving, light it from a window, expose using the histogram, and keep resolution and print size straight in your head.
What to take away
- Photograph the book open and moving, because that is what a journal does: a spread shows the structure, and a page turn shows it working.
- Window light against a wall beats any lamp you own, and costs nothing.
- Shoot for the histogram, not for the screen preview.
- Resolution and print size are separate ideas, and confusing them wastes the best shot you took.
Shoot the structure, not just the cover
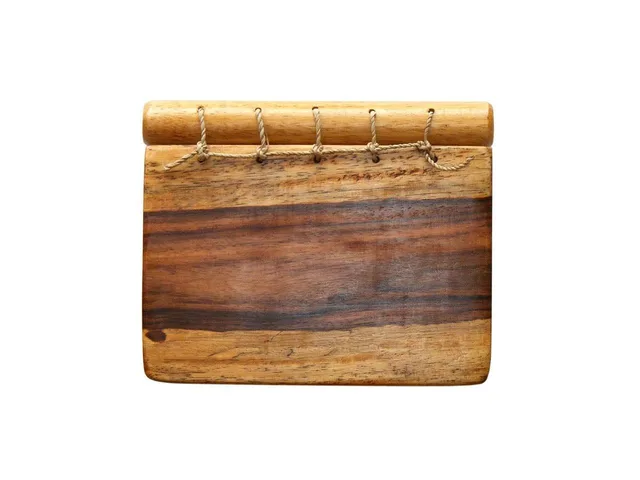
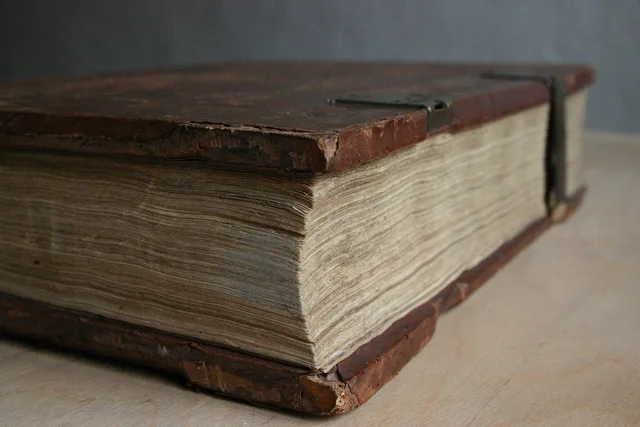
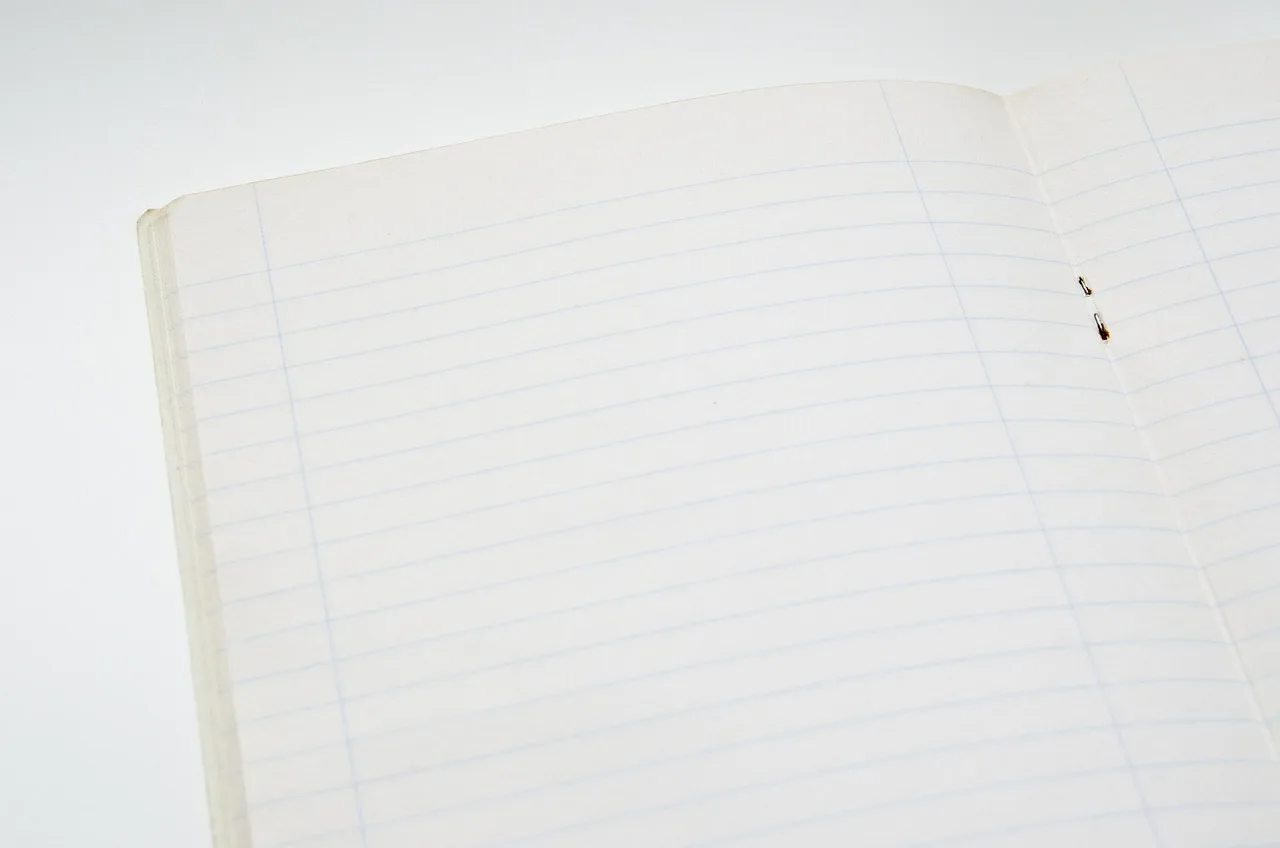
A closed journal is a rectangle. It tells a reader almost nothing. The three shots that carry information are: the book open flat at a spread, the spine and sewing at an angle, and the fore edge showing thickness and the block.
If the structure has an exposed spine or a fastening, that is the picture. Anyone who might make one wants to see how it is held together.
Light
Put the book on a table beside a window, with the window to one side rather than behind you. Bounce light back into the shadow side with a sheet of white card. That is the whole setup, and it is better than a ring light because it keeps texture in the paper.
Avoid direct sun, which blows out white paper and casts a hard shadow from the raised board edge. Overcast daylight is the easiest condition there is, and a north-facing window gives you it for most of the day.
Photograph the journal in motion
A flat spread can still read like a printed page. What a handmade book has that a commercial one does not is the way it moves: the cover lifting, the block opening, the leaf turning and settling. Photograph that movement and the binding stops being a surface and becomes a structure.
Shoot it either as a sequence or as a short clip. The sequence is the cover part-lifted, the pages falling open, the spread settled, the next leaf halfway over; a reader looking at those frames sees a book that is handled and used, which is what a journal is for. The clip is a single page turning, the easiest proof that the spine opens where it should and that the sewing lets the block flex.
Keep the window to one side for these frames as well, so the moving leaf catches the same raking light as the still. Shoot a burst on a phone, or set the camera on a tripod and use the self-timer so the background holds still while your hand turns the page. Let the paper fall on its own, nudged with a fingertip or with a bone folder kept out of frame, rather than pressing it flat. That turn is a structural shot too: it shows where the cover hinge gives and how far the block really opens.
Expose using the histogram
Paper is bright, and cameras underexpose it, so many handmade journals photograph as gray. The National Park Service guidance on understanding histograms describes what to read.
The graph shows tonal values along the horizontal axis, darkest at left and lightest at right. The vertical axis shows how much image data sits at each brightness value. White in the histogram represents data where all three color channels overlap.
For white or cream paper you want the mass of data sitting well right of center without stacking against the right edge. Adjust exposure until it does, and ignore what the rear screen looks like.
Resolution: get the two numbers straight
The other common failure is a photo that looks fine online and prints badly. Pixels per inch and dots per inch are two different measures, and mixing them up is what causes the trouble. Pixels per inch measures image resolution, the number of pixels along a linear inch of a digital image, and it affects printable size.
The camera captures a fixed pixel dimension. That same fixed set of pixels can produce many different print sizes. Changing the print size changes the pixels per inch, not the captured dimension.
The practical rule: shoot at the camera's full size, crop as little as possible, and decide the print size afterwards, once you know whether the image is for a portfolio or for a print of a single spread.
Presenting a set
- Photograph every journal against the same background, so a group reads as a series.
- Keep one consistent angle for the spine shot.
- Include a scale reference in at least one frame, such as a hand or a ruler edge.
- Store the originals, not just the exported versions.
Where you keep the finished books between photographs matters too; that is covered in our guide to storing journal materials. The formats themselves are described in eleven journal ideas for handmade books.