Guides
Part of Which error should decide your next bookbinding tool purchase?
Photographing bookbinding tools: raking light is what makes texture show
Shoot tools in use, light them at a raking angle for texture, and decide the file format and storage before you shoot rather than after a drive fails.
What to take away
- Photograph tools in use, not laid out flat. A tool photograph that shows nothing being made shows nothing.
- Raking light is what makes metal and bone readable.
- Decide the file format and the storage before you shoot, not afterwards.
- Name files so they are still findable in five years.
Shoot the tool doing its job
A row of tools on a cloth is a product photograph and it tells a reader nothing they could not get from a catalog. What is worth photographing is the moment of use: the folder at the crease, the knife against the rule, the awl at the station, the press closing on a book.
That means the tool is usually not the sharpest thing in the frame. Focus on the point of contact, and let the hand and the handle fall away. A slightly soft handle reads as depth; a soft point of contact reads as a mistake.
For a tool at working distance, f/8 to f/11 is a typical aperture, which keeps the point of contact and the bench under it in focus. Check the close-focus limit before you plan a tight crop: a typical kit zoom stops at about 30 cm, too far to fill the frame with an awl.
Light for texture
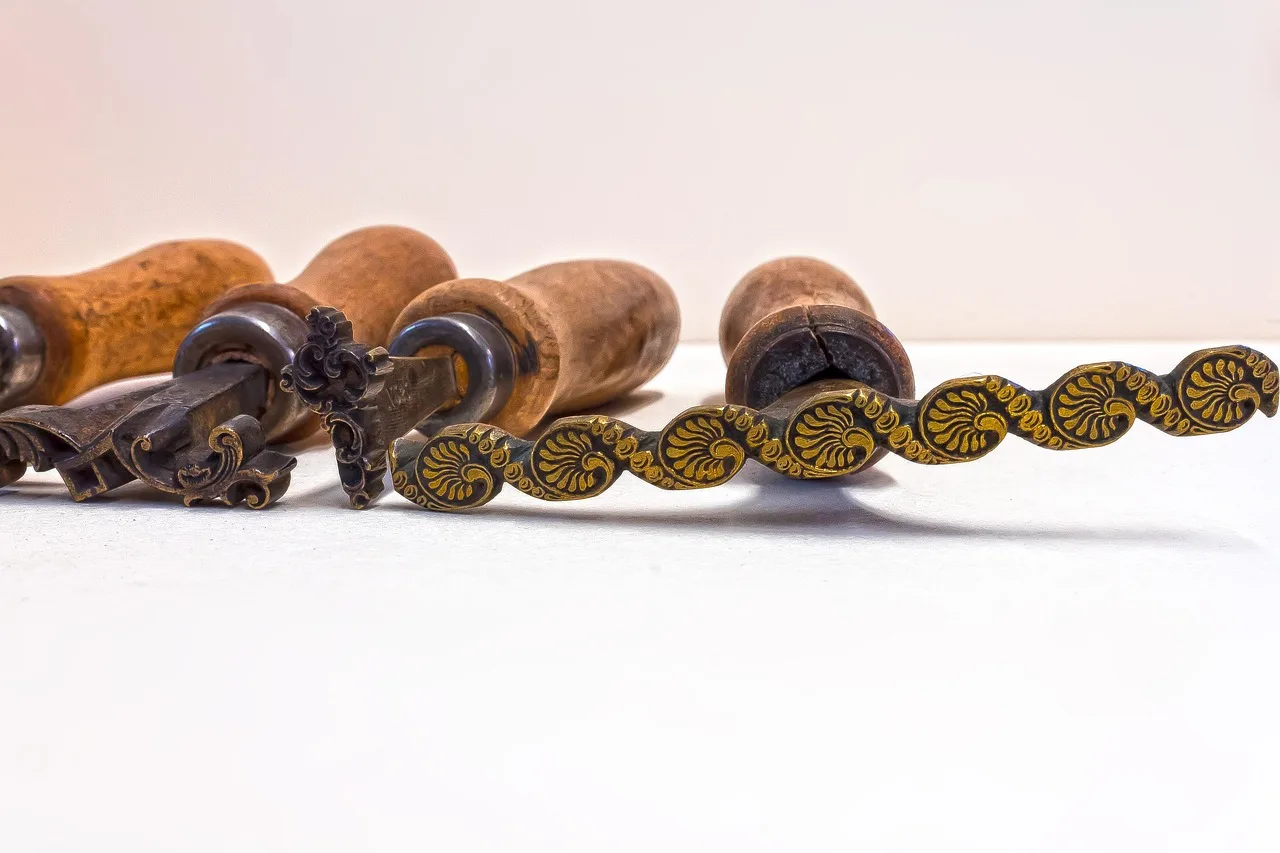
Metal, bone and worn wood all read through texture rather than color, and texture needs a shadow. Put the light 10 to 20 degrees above the bench, so it rakes across the surface. A tool lit from the front looks like a silhouette of itself.
- One window, one white card, no direct sun.
- Light at a shallow angle for texture, higher for shape.
- Dark background for pale tools, mid-gray for dark ones.
- A shallow depth of field to separate the tool from a busy bench.
Choose the storage format on purpose
Shoot RAW. Keep one TIFF as the master file, and export a JPEG for anything that leaves your machine: client proofs, posts, emails.
The Park Service note on digital storage media lists the media types in common use and how each typically fails. It is worth reading once before you commit to a workflow, not after a drive fails.
The practical version is unglamorous: keep two copies, on different media, in different places, and open the older copy at least once a year to confirm it still reads.
Name and describe files so they survive
Files you cannot find are files you do not have. The Park Service glossary of terminology for the creation, care and storage of digital materials gives short definitions for the terms that image workflows assume, and it is short enough to read in a sitting.
For a tool archive, a filename carrying date, subject and sequence is enough: year, month, day, then what it is, then a number. A working example is 2026-09-20_awl-station_01, which sorts by date and says what the frame shows.
Avoid spaces and punctuation, and never rely on folder names alone to carry meaning, because folders get reorganized and filenames rarely do.
Presenting a kit
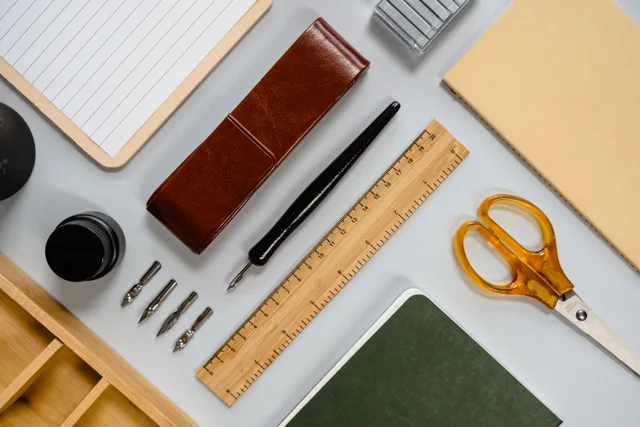
Photograph every tool the same way when showing a set: same background, same light angle, same distance. Then break the pattern once with a single image of the whole bench in use, because that picture gives scale.
The lighting logic for flat work is in photographing paper marbling. What is worth owning in the first place is in judging bookbinding tools.