Features
Part of Does the paper damage record actually point to water more than workmanship?
Five paper craft exercises need no press and no studio at all
Five projects with no press and no studio: two papers, hand burnishing, dampening, a paper registration jig, and one process followed end to end.
What to take away
- Five projects, each isolating a single paper skill, none needing a press or a studio.
- Printing without a press is a real technique, not a compromise, and it teaches ink behavior fastest.
- Do the same project on two different papers. The paper is the variable people never test.
- Keep the results labeled with the paper, the pressure and the date.
One: the same image on two papers
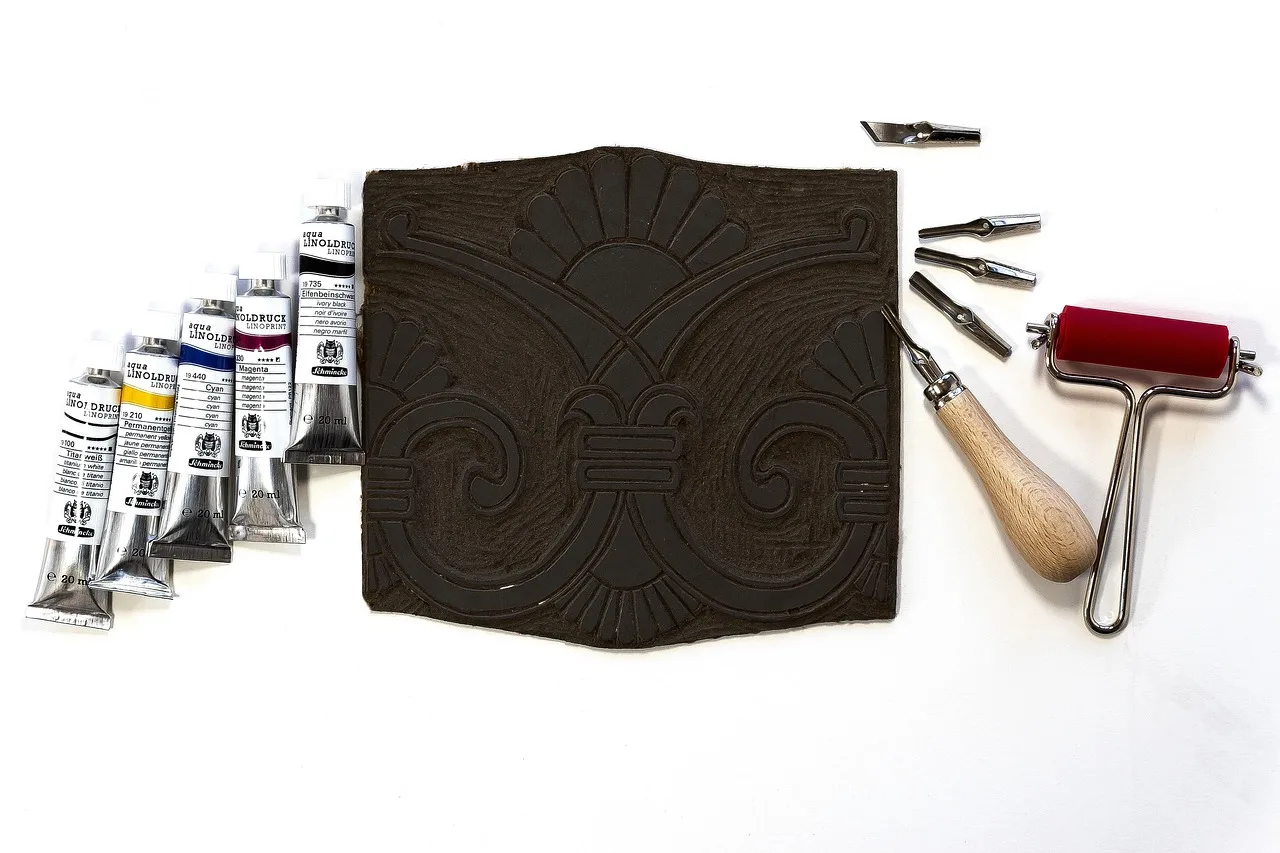
Cut one lino block or one stamp and print it twice on two sheets cut to the same size — a smooth paper such as Bristol board or hot-pressed watercolor paper, and a textured paper such as cold-pressed watercolor paper or a laid sheet — with everything else identical. Then print it again on each with more ink and less.
Four prints, one variable
Smooth paper
- More ink
- smooth, heavy ink
- Less ink
- smooth, light ink
Textured paper
- More ink
- textured, heavy ink
- Less ink
- textured, light ink
Four prints, one variable at a time. You will learn more about paper surface in an hour than from any amount of reading, because the difference sits side by side on the bench and does not need describing.
Two: printing without a press
A press is not required; working without one teaches ink and pressure directly through your hands.
The Fleet Library at the Rhode Island School of Design's printmaking history and process guide points to methods for printmaking by hand without a press: potato prints, multi-color linocuts, collage, and screen prints. These need neither expensive equipment nor much space.
Burnish the back of the sheet with the bowl of a spoon or with a baren, and watch how the impression changes with pressure and with dampness. Your hand feels the block through the paper, which no press will ever let you do.
Three: dampening
Take six identical sheets. Print two dry, two lightly dampened and left to equalize, and two too wet. Compare the impressions and then compare how flat each sheet dries.
Dampened paper takes ink into the surface rather than sitting on it. Overdamp paper cockles and can tear under the burnisher. The middle pair is the target, and finding it is the entire lesson.
Four: registration
Print two colors, one after the other, using nothing but a paper jig taped to the bench. Do ten sheets.
Registration is not a talent. It is a repeatable stop against which the sheet is placed the same way every time, and a strip of card taped down is as good a stop as anything sold for the purpose. Ten sheets is enough to prove that to yourself.
Five: follow one process end to end
Understanding one process completely is worth more than sampling four. The University of Illinois library's lithography printing process overview sets out a full commercial sequence broken into prepress imaging, platemaking, production printing and finishing, with process flow diagrams.
You will not be running a lithographic press, but you can run a whole paper craft of your own the same way. Print a short run of the two-paper test, fold the sheets into a single signature, and sew it as a pamphlet with linen thread; or make a batch of paste paper, let it dry, and wrap an accordion-fold book in it. Write out the stages the way the guide does — materials, action, drying or resting, finishing — and run the whole thing twice, changing one stage at a time. Seeing a process as a chain of separately controlled stages is exactly how bench work should be organized.
How to record the results
- Label the back of every print in pencil with paper, ink, pressure and date.
- Keep the failures with the successes, in the same order.
- Photograph the set once, flat, in one light.
That habit connects a good result back to conditions you can reproduce. The reasoning behind learning from documented practice rather than memory alone is in what the documented record teaches.
Where these five skills land in a book
Dampening and grain direction decide how a folded section lies. Registration trains you to place a tipped-in plate or a paste-paper cover squarely, and burnishing is how a printed sheet is pressed before it goes into a binding. Try them on an accordion-fold book with paste-paper covers, or on printed sheets folded and sewn into a single-signature pamphlet with linen thread.