Industry
Part of Planning a bookbinding project means picking the structure before the idea
Bindery equipment lists: they reveal more about bookbinding projects than a portfolio
What studio inventories reveal about bookbinding projects: published bindery equipment lists show where the work really goes, cutting square, pressing flat.
What to take away
- No binders were interviewed for this article. It reads published studio inventories and course outlines instead.
- Equipment lists are a better guide to real practice than finished photographs are.
- Most of a working bindery is holding, cutting and pressing. Very little of it is decorative.
- Books are objects of use, so a structure is judged by how it moves, not how it looks closed.
Why an equipment list tells you more than a portfolio
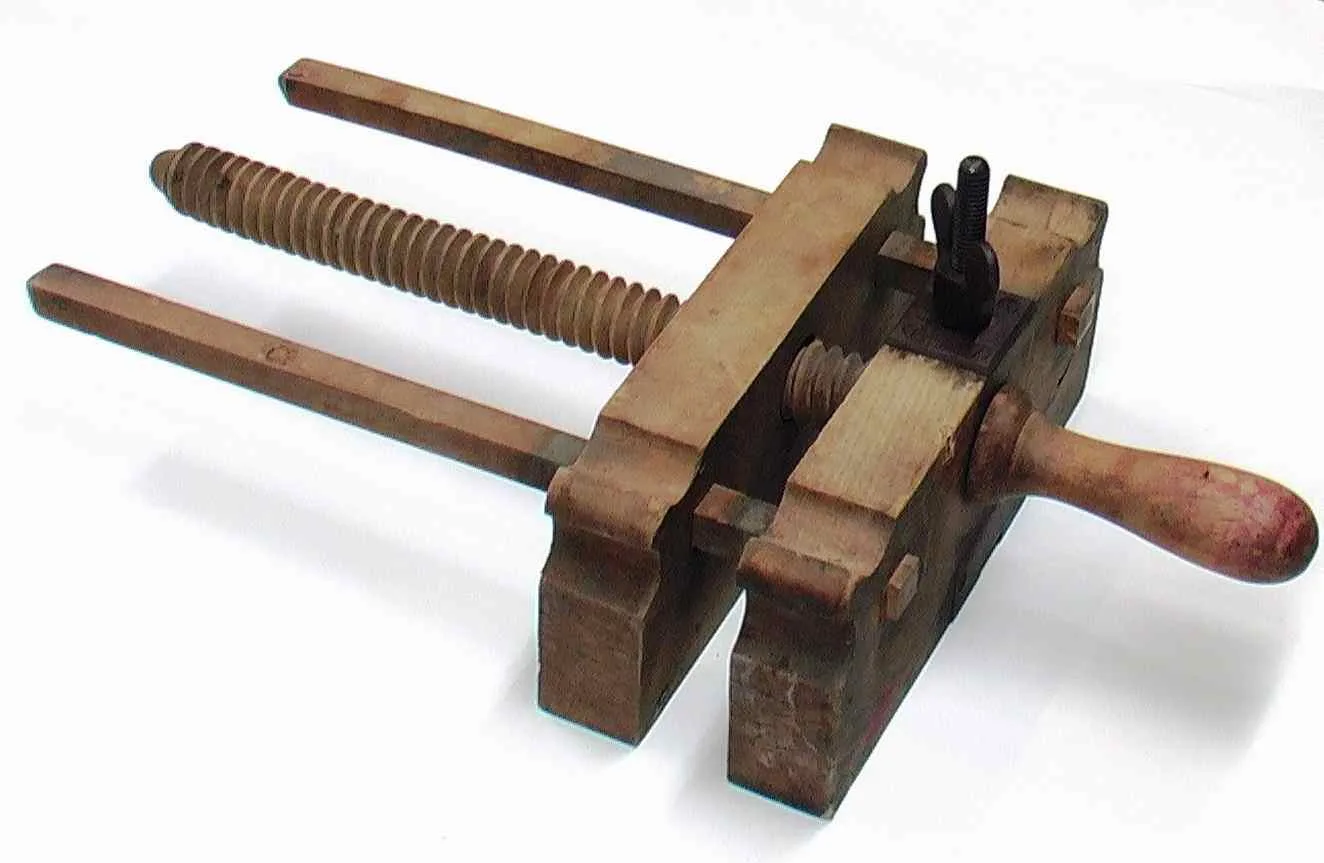
The University of Iowa Center for the Book publishes what sits in its Kolarik Book Studio: two board shears, several kutrimmers, a guillotine, a standing press, and nipping presses. Also a job backer, sewing frames, a plow, a foil stamper, and a drill press.
It also has hand tools including Japanese screw punches and leather working tools.
Read the list by category and the pattern is obvious. Three of those machines cut, three press or shape, one punches. Nothing on it is for decoration. A studio built by people who bind every day is overwhelmingly a machine for making square edges and flat surfaces.
What that implies for one person at a table
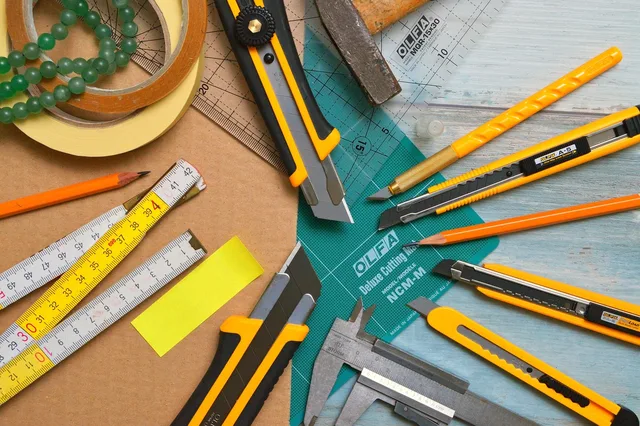
You cannot buy a board shear for a spare room, but you can copy the priorities.
- Cut square before you cut fast. A reliable straightedge and square do the shear's job slowly.
- Own more pressing capacity than you think you need. Two sets of pressing boards let a second job start while the first sits.
- Buy one punching solution and stop. A screw punch or a pierced template, not both.
- Treat the plow's job, edge trimming, as a knife skill rather than a purchase.
Small labs keep working machines, not display pieces
Wake Forest University's ZSR Library describes a preservation lab alongside its exhibit Letters in Lead. The lab houses a small 1906 job press and a large supply of type font.
The exhibit also shows the examples of type and other equipment from the ZSR Press. Next to that display sit the volumes tracing book design from the pre-Gutenberg manuscripts onward.
A working press over a century old, still in a library lab, is the argument for buying used and for buying simple. Nothing in that description is recent, and none of it needed replacing.
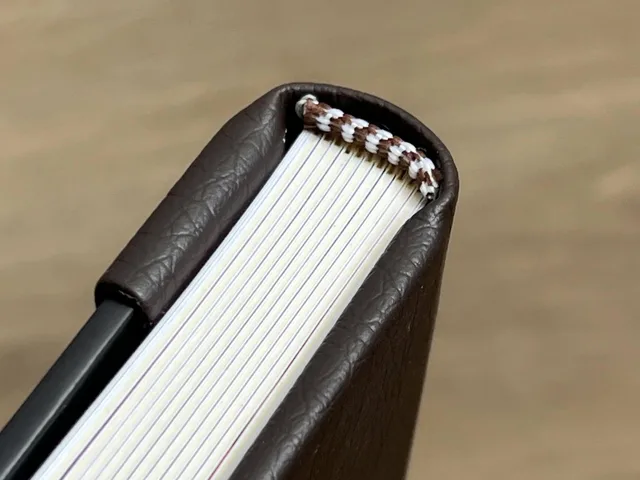
The bench version of the same test is to open your finished book fully, several times, and watch the spine. If the sections pull at the sewing, if the boards resist, if the shoulder cracks, that is the verdict. A photograph of the closed book tells you nothing about any of it.
How the sequence usually runs
- Structure chosen against the intended use, not the other way round.
- Dummy made in scrap to establish spine thickness after sewing.
- All cutting done at once, grain marked.
- Sewing, then a long press.
- Case made and pressed separately.
- Casing in, then the longest press of the job.
Nothing there is proprietary. The difference between a first attempt and a tenth is mostly that steps two and four stop being skipped. The planning sheet behind this is set out in planning bookbinding projects, and the wider map of the crafts is in book arts in 2027.